Shoe Cover Making Machine, Model BF31
Instruction for Usage
A. Machanical Installation
- When moving/handling the machine, the devices fixed onto the machine should be disassembled first.
- When packaging the machine, the devices should be assembled according to those numbers marked on devices during disassembling steps.
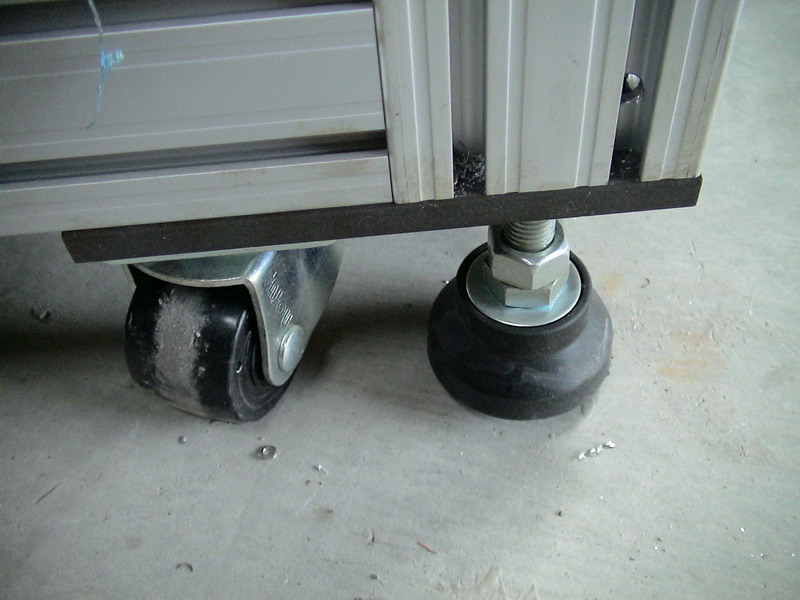
- Put the machine onto suitable installation place, adjust machine till horizontally by adjusting screws. (Manual Photo 01)
- Set "ACV" position in the electric meter before electrifying, double check if power voltage is same as the machine's rated voltage.
- Connect the machine to AC 220V, 50Hz, 1Phase power
B. Test Preparation before Usage
- Testing of electric control could be tested one by one according to functions button on panel. (Manual Photo 02)
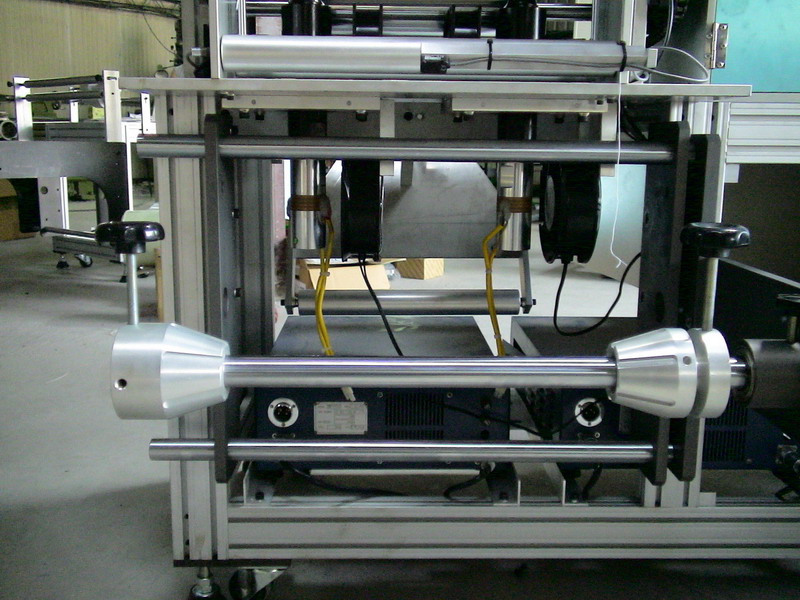
- Unloose the clamping chuck, put raw materials into the clamping chuck, then fasten the clamping chuck and fix raw materials onto materials rest frame. (Manual Photo 03, 04, 05)
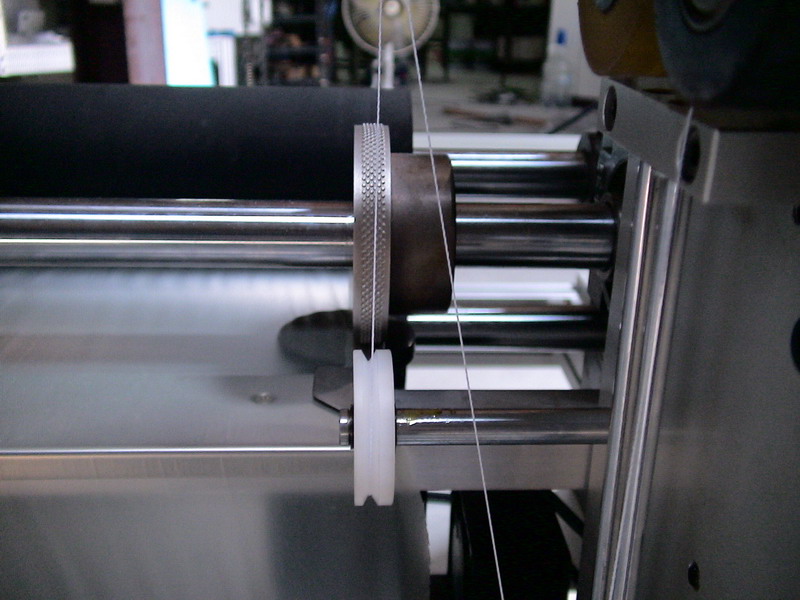
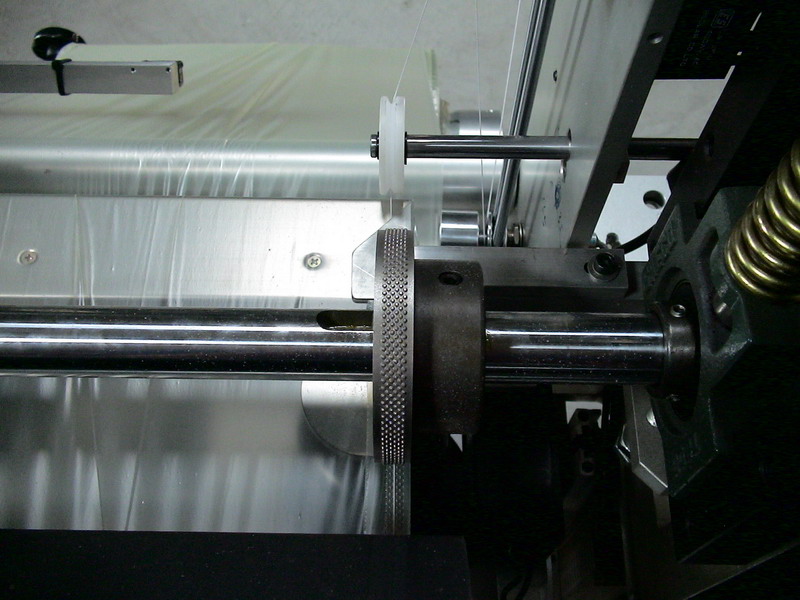
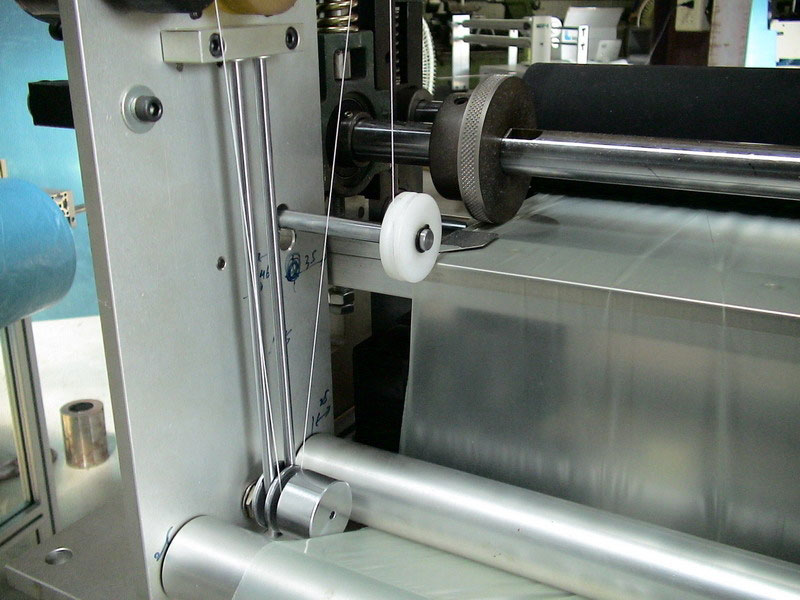
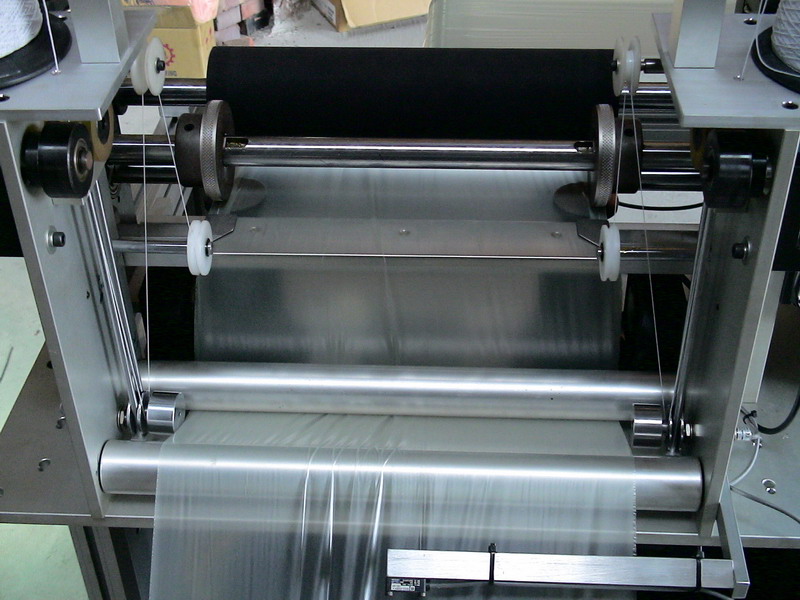
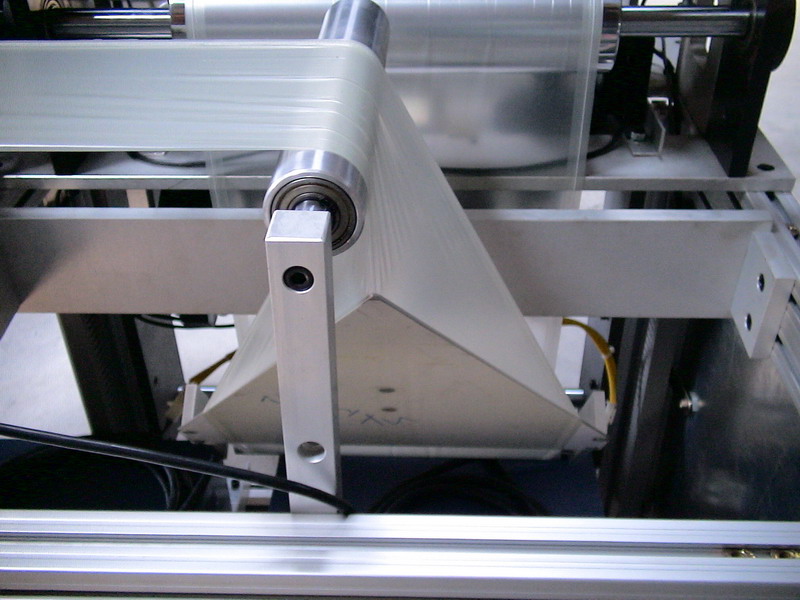
- Refer to flowchart, unlash the draw-material-wheel to draw material to every roller till the material discharging place, then clamp on the draw-material-wheel. (Manual Photo 06, 07)
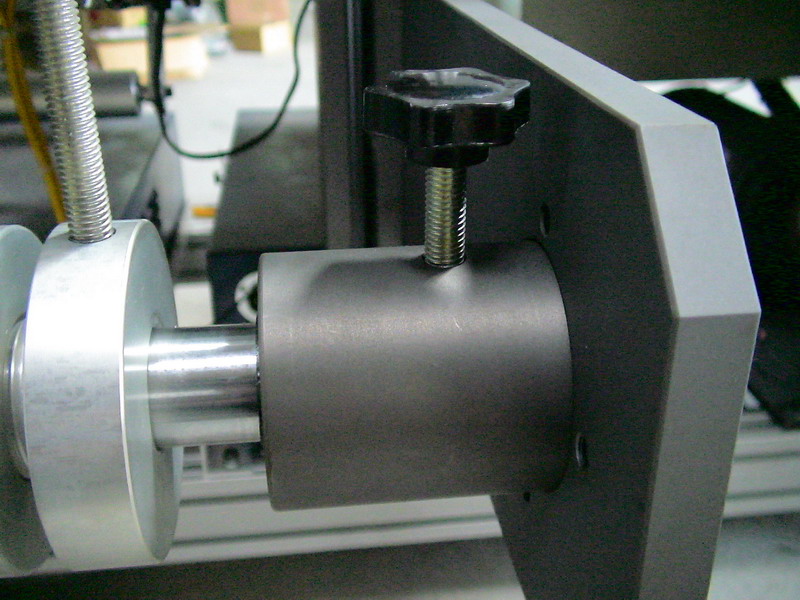
- Adjust the tension-control screw to make raw materials with suitable tension. (Manual Photo 08)
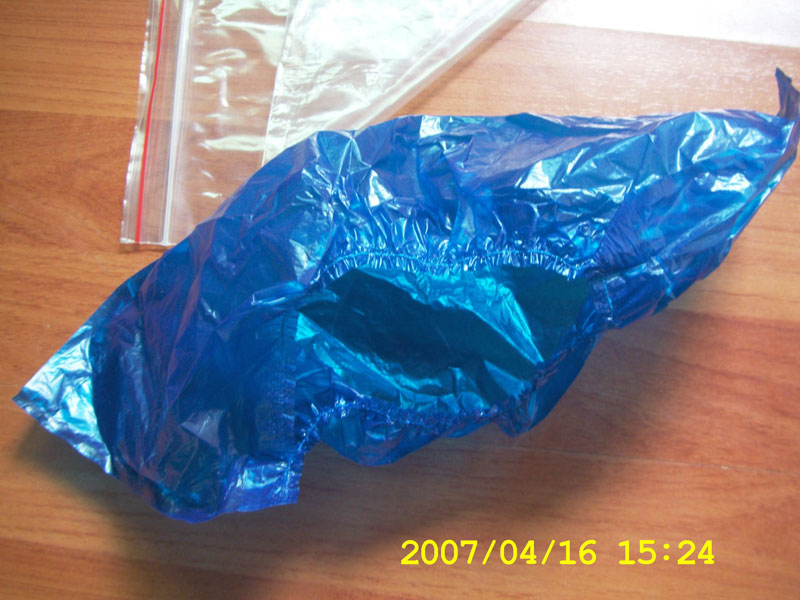
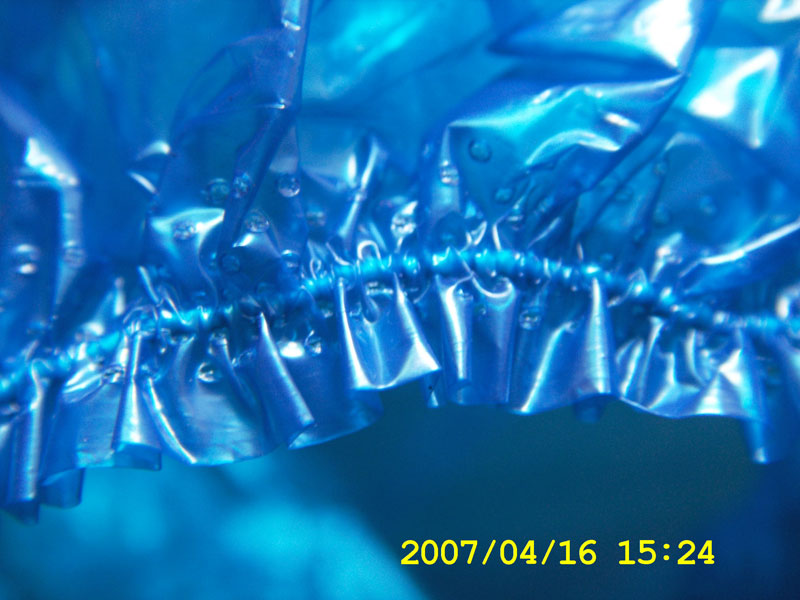
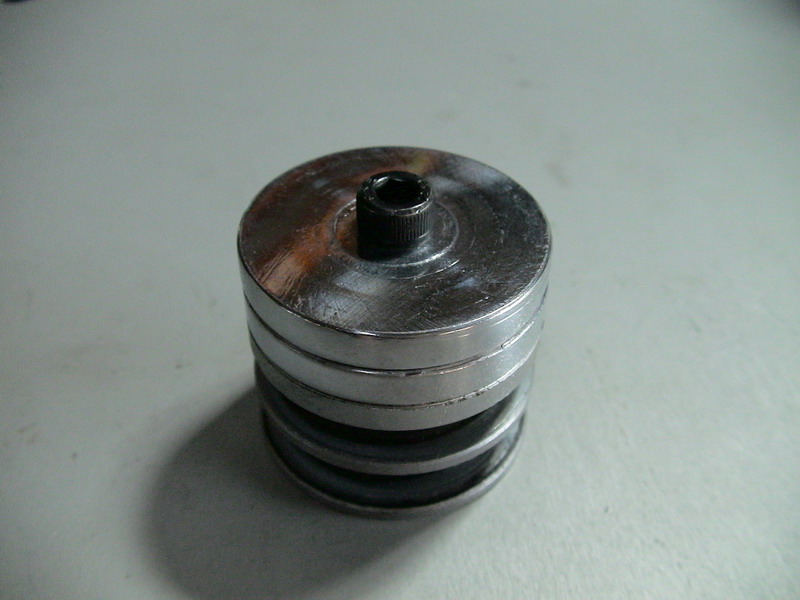
- Align the flex elastic to the center of the edge-weld wheel. (Manual Photo 09, 10)
- If the flex elastic is too loose, then add weights to draw it tightly till some tension. (Manual Photo 11, 12)
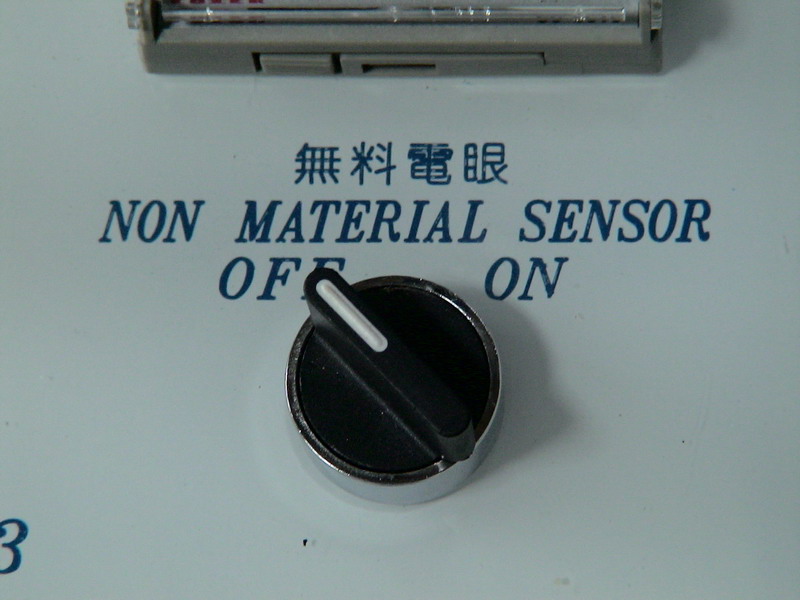
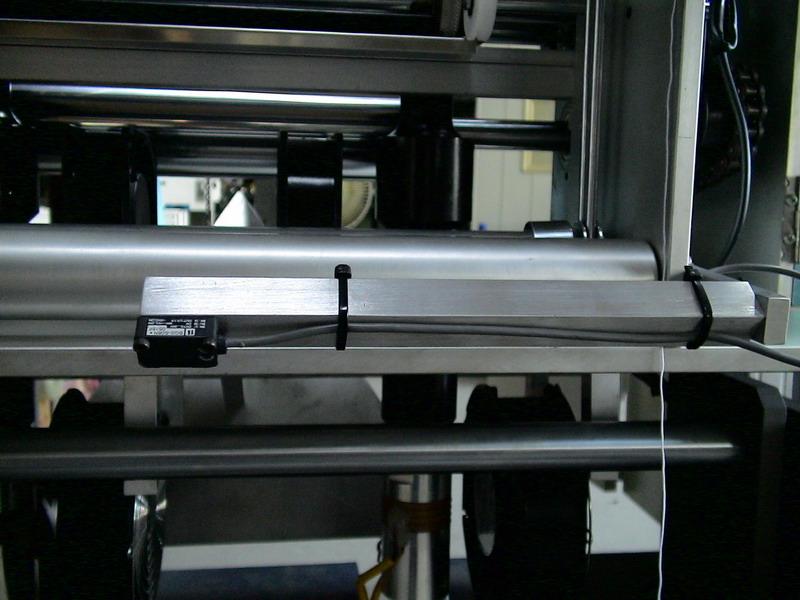
- Open the non material sensor to see if the light of non material sensor is lighting, if no lighting, then adjust the induction length till the light lighting. (Manual Photo 13, 14)
- Make sure the light of non material sensor is lighting, then move raw materials away one by one to see if the light is off, if the light is still lighting, adjust the induction length shorter.
- Empty load test of ultrasonic ware, please refer to its operation manual.
- Adjust the space between the weld wheel and Horn till 0.03mm
C. Operation Steps
- Put raw materials onto raw material roller and clamp raw materials till fixed.
- Draw raw materials out according to flowchart through all guide rollers till the thermoweld cutting place.
- Adjust the tension-control screw to make raw materials with suitable tension.
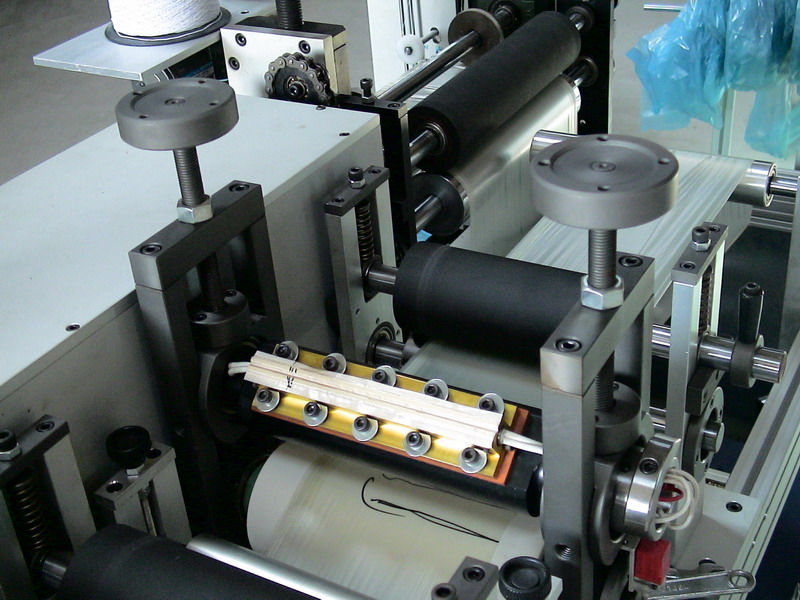
- Start up main machine and heat materials to thermoweld temperature, then run machine to see thermoweld effect. (Manual Photo 15, 16)
- If thermoweld point is not obvious, adjust the pressure hand wheel to let product meet with requirement. (Manual Photo 17)
- Adjust the feeding wheel of cutting tool to make the cutting tool touching with the cutting cusion, thus materials could be cut. (Manual Photo 18)
- Adjust the 2nd thermoweld wheel to let the thermoweld position align with the cutting tool line. (Manual Photo 19)
- Then adjust the 1st thermoweld wheel to let it align with finished shoe cover. (Manual Photo 20)
D. Adjustments on Abnormal Conditions
- The position of finished shoe cover's cutting tool doesn't match with the thermoweld line.
- a. Adjust the 2nd thermoweld wheel's shaft sleeve, unloose the chain wheel's fixed collar.
- b. When thermoweld line is out of the cutting tool, it means the thermoweld wheel is too slow in rotating positions, so adjust the thermoweld wheel following the rotating direction according to actual difference.
- c. When thermoweld line is in the cutting tool, it means the thermoweld wheel is too fast in rotating positions, so adjust the thermoweld wheel following the reversed direction according to actual difference.
- If the top & bottom of finished shoe cover is unsymmetrical, adjust the 1st thermoweld wheel to make its center align with the folio tip. (Manual Photo 21)
- If the positions difference between 1st thermoweld wheel and 2nd thermoweld wheel is within 10mm, adjust the align wheel, if the positions difference is too big, adjust the shaft sleeve of 1st thermoweld wheel.
- If finished shoe covers have pleats, check if the raw materials are too loose, adjust the tension control screw to solve this pleats problem.
- Abnormal Thermoweld
- a. Poor thermoweld strength, adjust the thermoweld wheel’s pressure or thermoweld’s depth.
- b. If false thermowelding, check if ultrasonic wave is running, if ultrasonic ware is running while false thermowelding, then refer to operation manual of ultrasonic wave device.
- c. Electric heating thermoweld, if finished shoe covers could not be welded well, adjust heating temperature to higher, if finished shoe covers are broken after thermowelding, adjust heating temperature to lower.
- Abnormal Cutting
- If difficult to cut thoroughly, clean cutting tool’s cushion, evenly rotate the hand feeding wheel of cutting tool to make the cutting tool touching with cutting tool’s cushion.
- If thermoweld points somewhere are not cut thoroughly, it is because the cutting tool wheel has damaged notches, so disassemble the cutting tool wheel for repairing works.
- Few thermoweld points are not cut thoroughly and the cutting line is evenly in the finished shoe covers, it is because the cutting tool wheel is wearing away, so polish the cutting tool wheel.
|